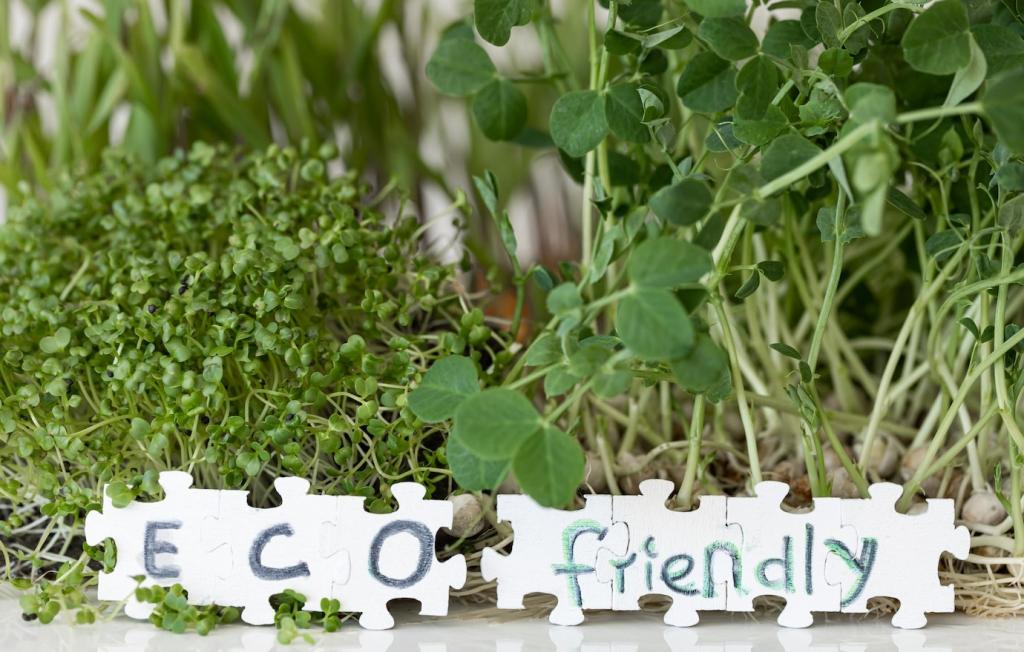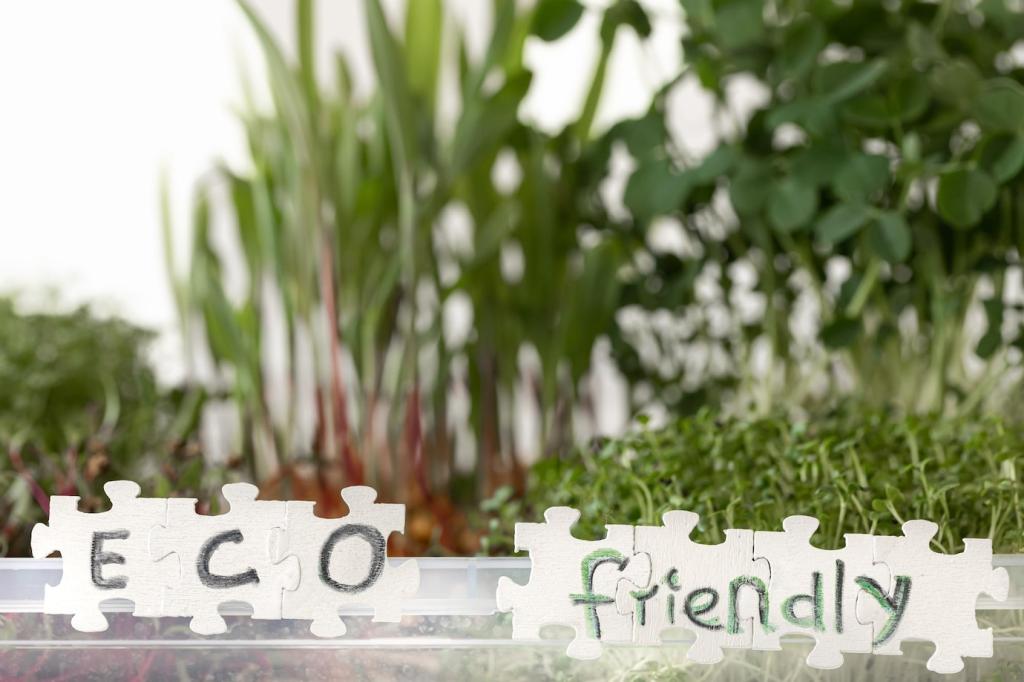
Why Make Your Own Polish?
Homemade polishes let you skip harsh solvents and mystery fragrances. By choosing oils, waxes, and mild acids you trust, you protect family, pets, and finishes while still achieving a rich, natural shine that feels authentic to the wood’s character.
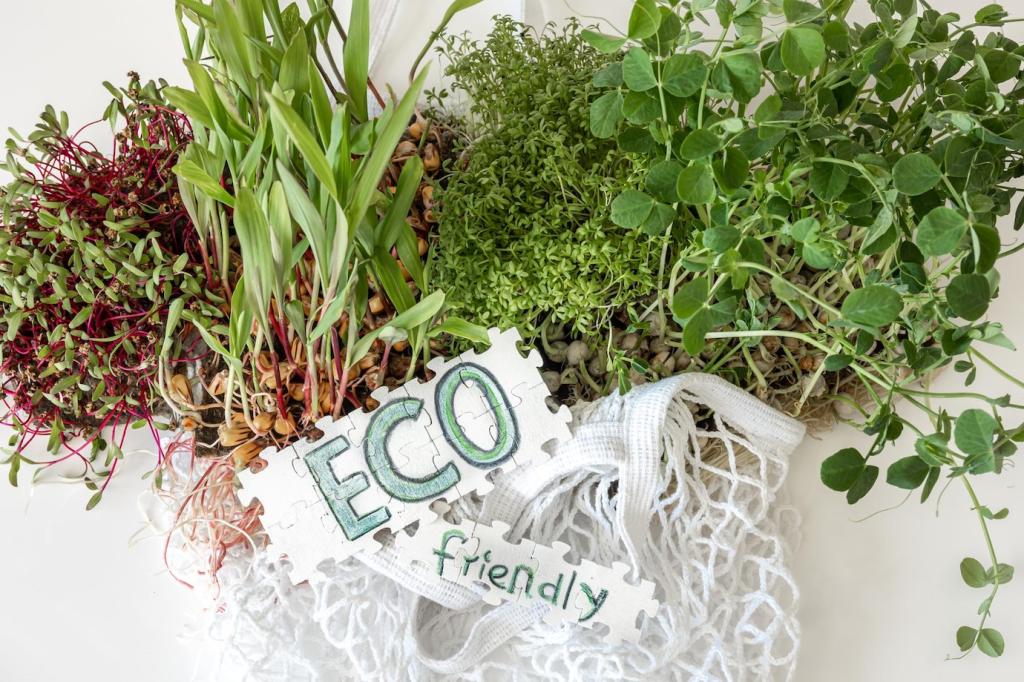
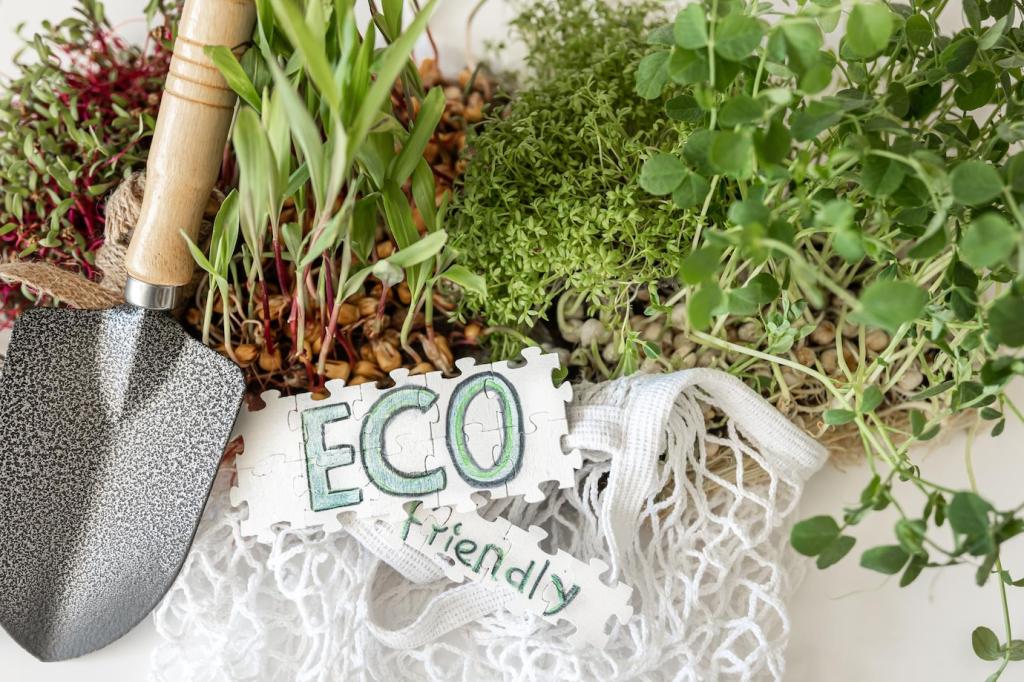
Why Make Your Own Polish?
A small jar of beeswax and a bottle of oil go a long way. Refill, reuse, and rethink packaging. DIY Furniture Polish Recipes keep costs predictable, reduce plastic clutter, and prove that eco-conscious routines can still deliver luxurious, durable results on treasured furniture.
Why Make Your Own Polish?
My neighbor almost gave up on her scratched walnut sideboard. One gentle beeswax and walnut oil blend later, the grain deepened, edges softened, and she swears it felt like bringing an heirloom back from a long sleep. She now polishes every first Sunday, tea in hand.
Why Make Your Own Polish?
Lorem ipsum dolor sit amet, consectetur adipiscing elit. Ut elit tellus, luctus nec ullamcorper mattis, pulvinar dapibus leo.